Installation Guide

A water tank project typically goes through several stages, from project planning to final operation, including requirement confirmation, procurement, transportation, site preparation, installation, testing, and commissioning.

Among these stages, the tank foundation and main tank installation are particularly important for the long-term and reliable operation of the water tank. This article will introduce the preparations required before water tank installation, as well as the main installation steps involved in assembling the tank.

Water Tank Foundation Preparation

Depending on the actual application environment, different foundation structures may be used for water tank installation. Common types include…

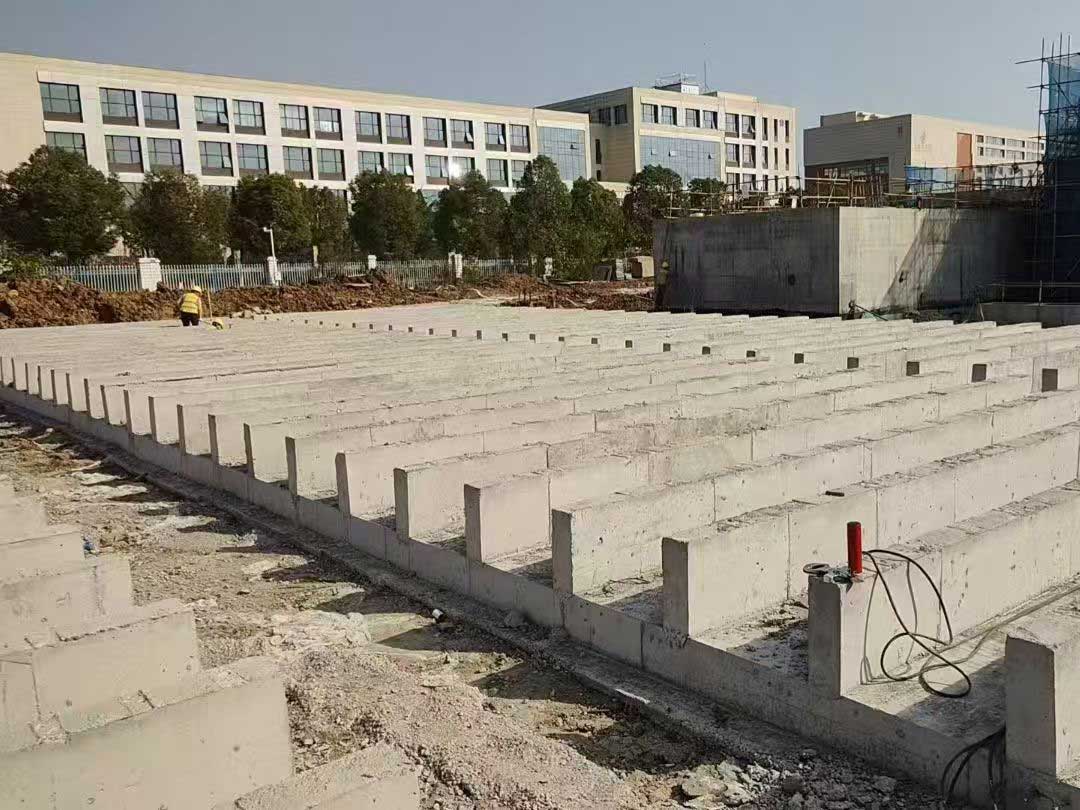
Concrete Strip Foundation

The foundation supports and evenly distributes the weight of the water tank, helping to prevent uneven settlement. The concrete supports are spaced at 1 m intervals, allowing access for inspection and maintenance if any problems occur with the tank bottom.

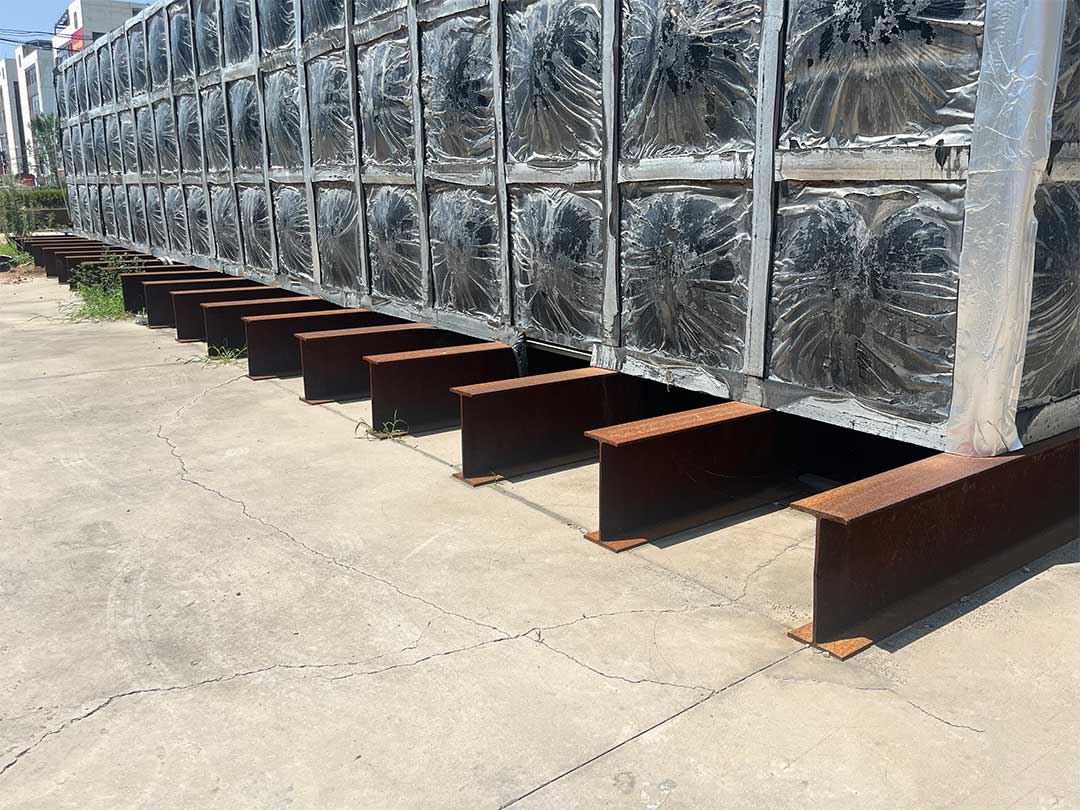
Large I-Beams

For a concrete-hardened ground surface, large I-beams can be used directly as the foundation supports. The spacing should also be 1 m, and anti-corrosion treatment can be applied as needed.

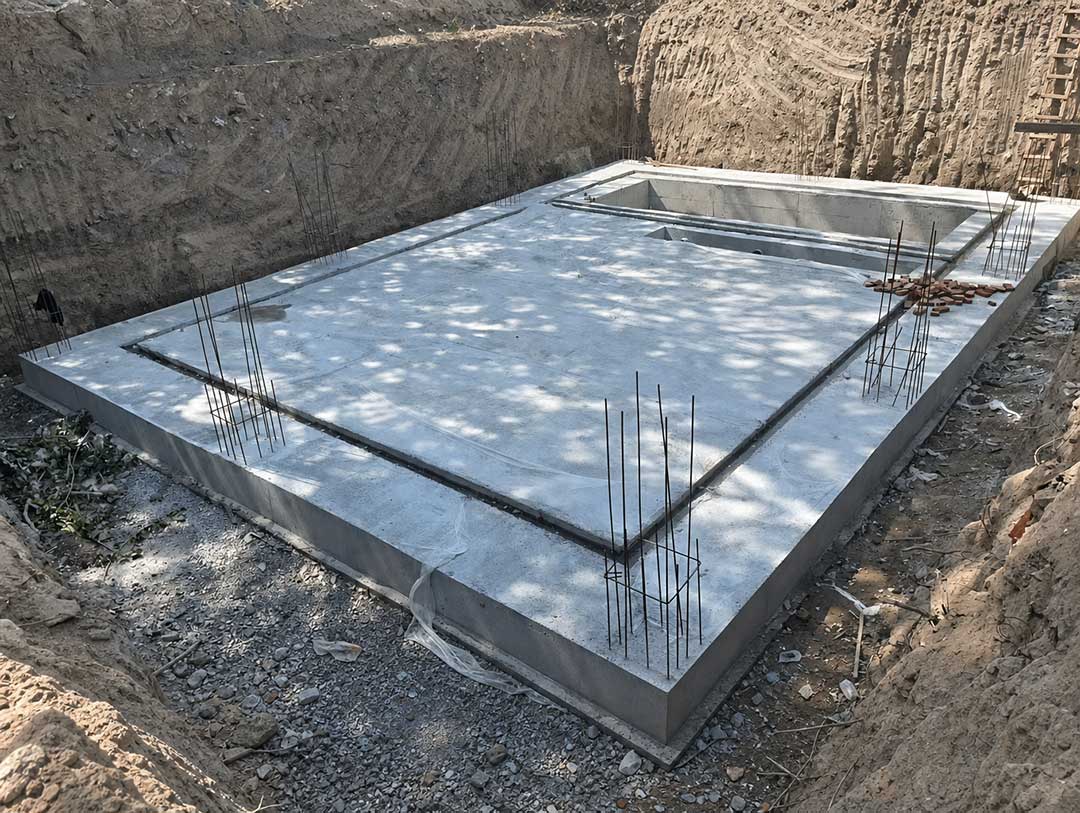
Anti-Floating Concrete Foundation Slab

After excavation, the soil base for the underground water tank should be properly compacted. A concrete foundation slab is then poured, and anti-floating measures are implemented using anti-float anchor rods or drilled anchoring methods.
Steel Structure Tower for Elevated Water Tanks

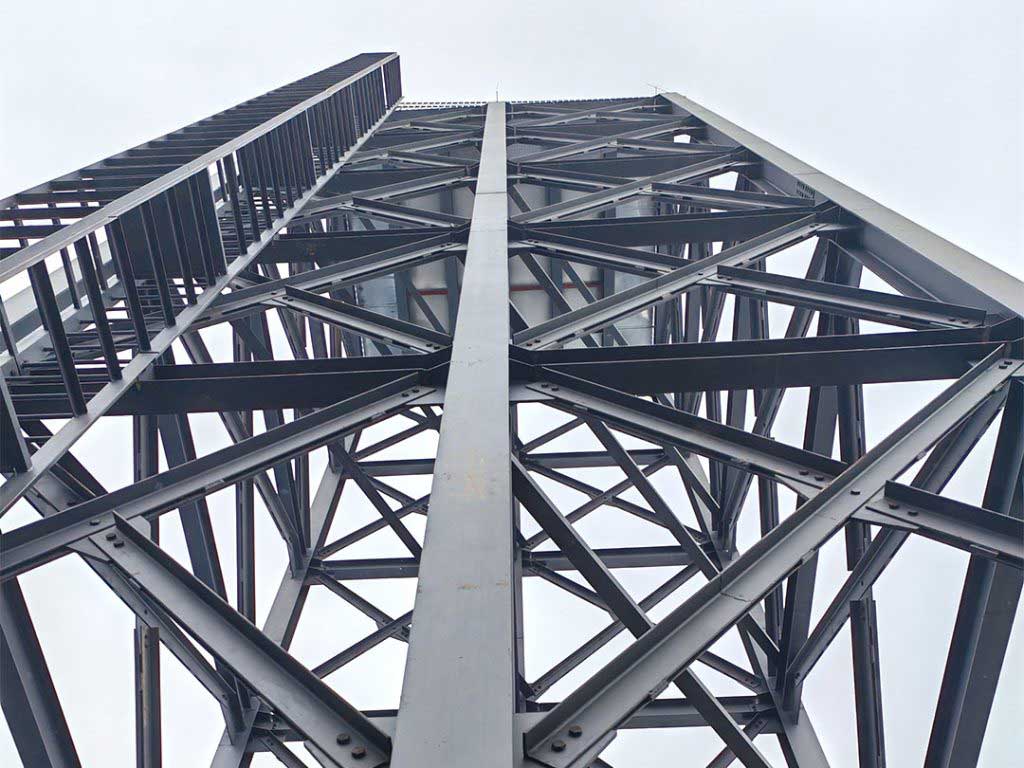
Steel Support Tower

For elevated tower water tanks, the foundation should be prepared and the tower structure designed in advance to ensure that the foundation does not experience settlement and that the tower can withstand strong winds.
Concrete strip foundations or foundation slabs should generally be poured at least one week before the scheduled delivery of the water tank, allowing sufficient time for the concrete to cure and helping to avoid delays to the tank installation schedule.

Water Tank Installation Video

To help you better understand the structure and installation process of modular water tanks, we have prepared separate installation videos for hot-dip galvanized (HDG), stainless steel, and GRP water tanks.

These videos focus on key installation steps, common problem areas, and critical connection points that require particular attention during installation. If you have any other questions about water tank installation, please feel free to contact us.

Stainless Steel Welded Water Tank Installation Video

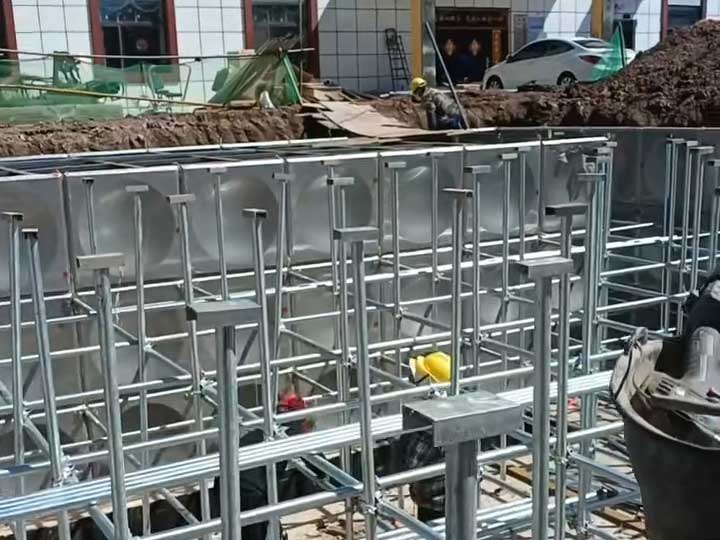
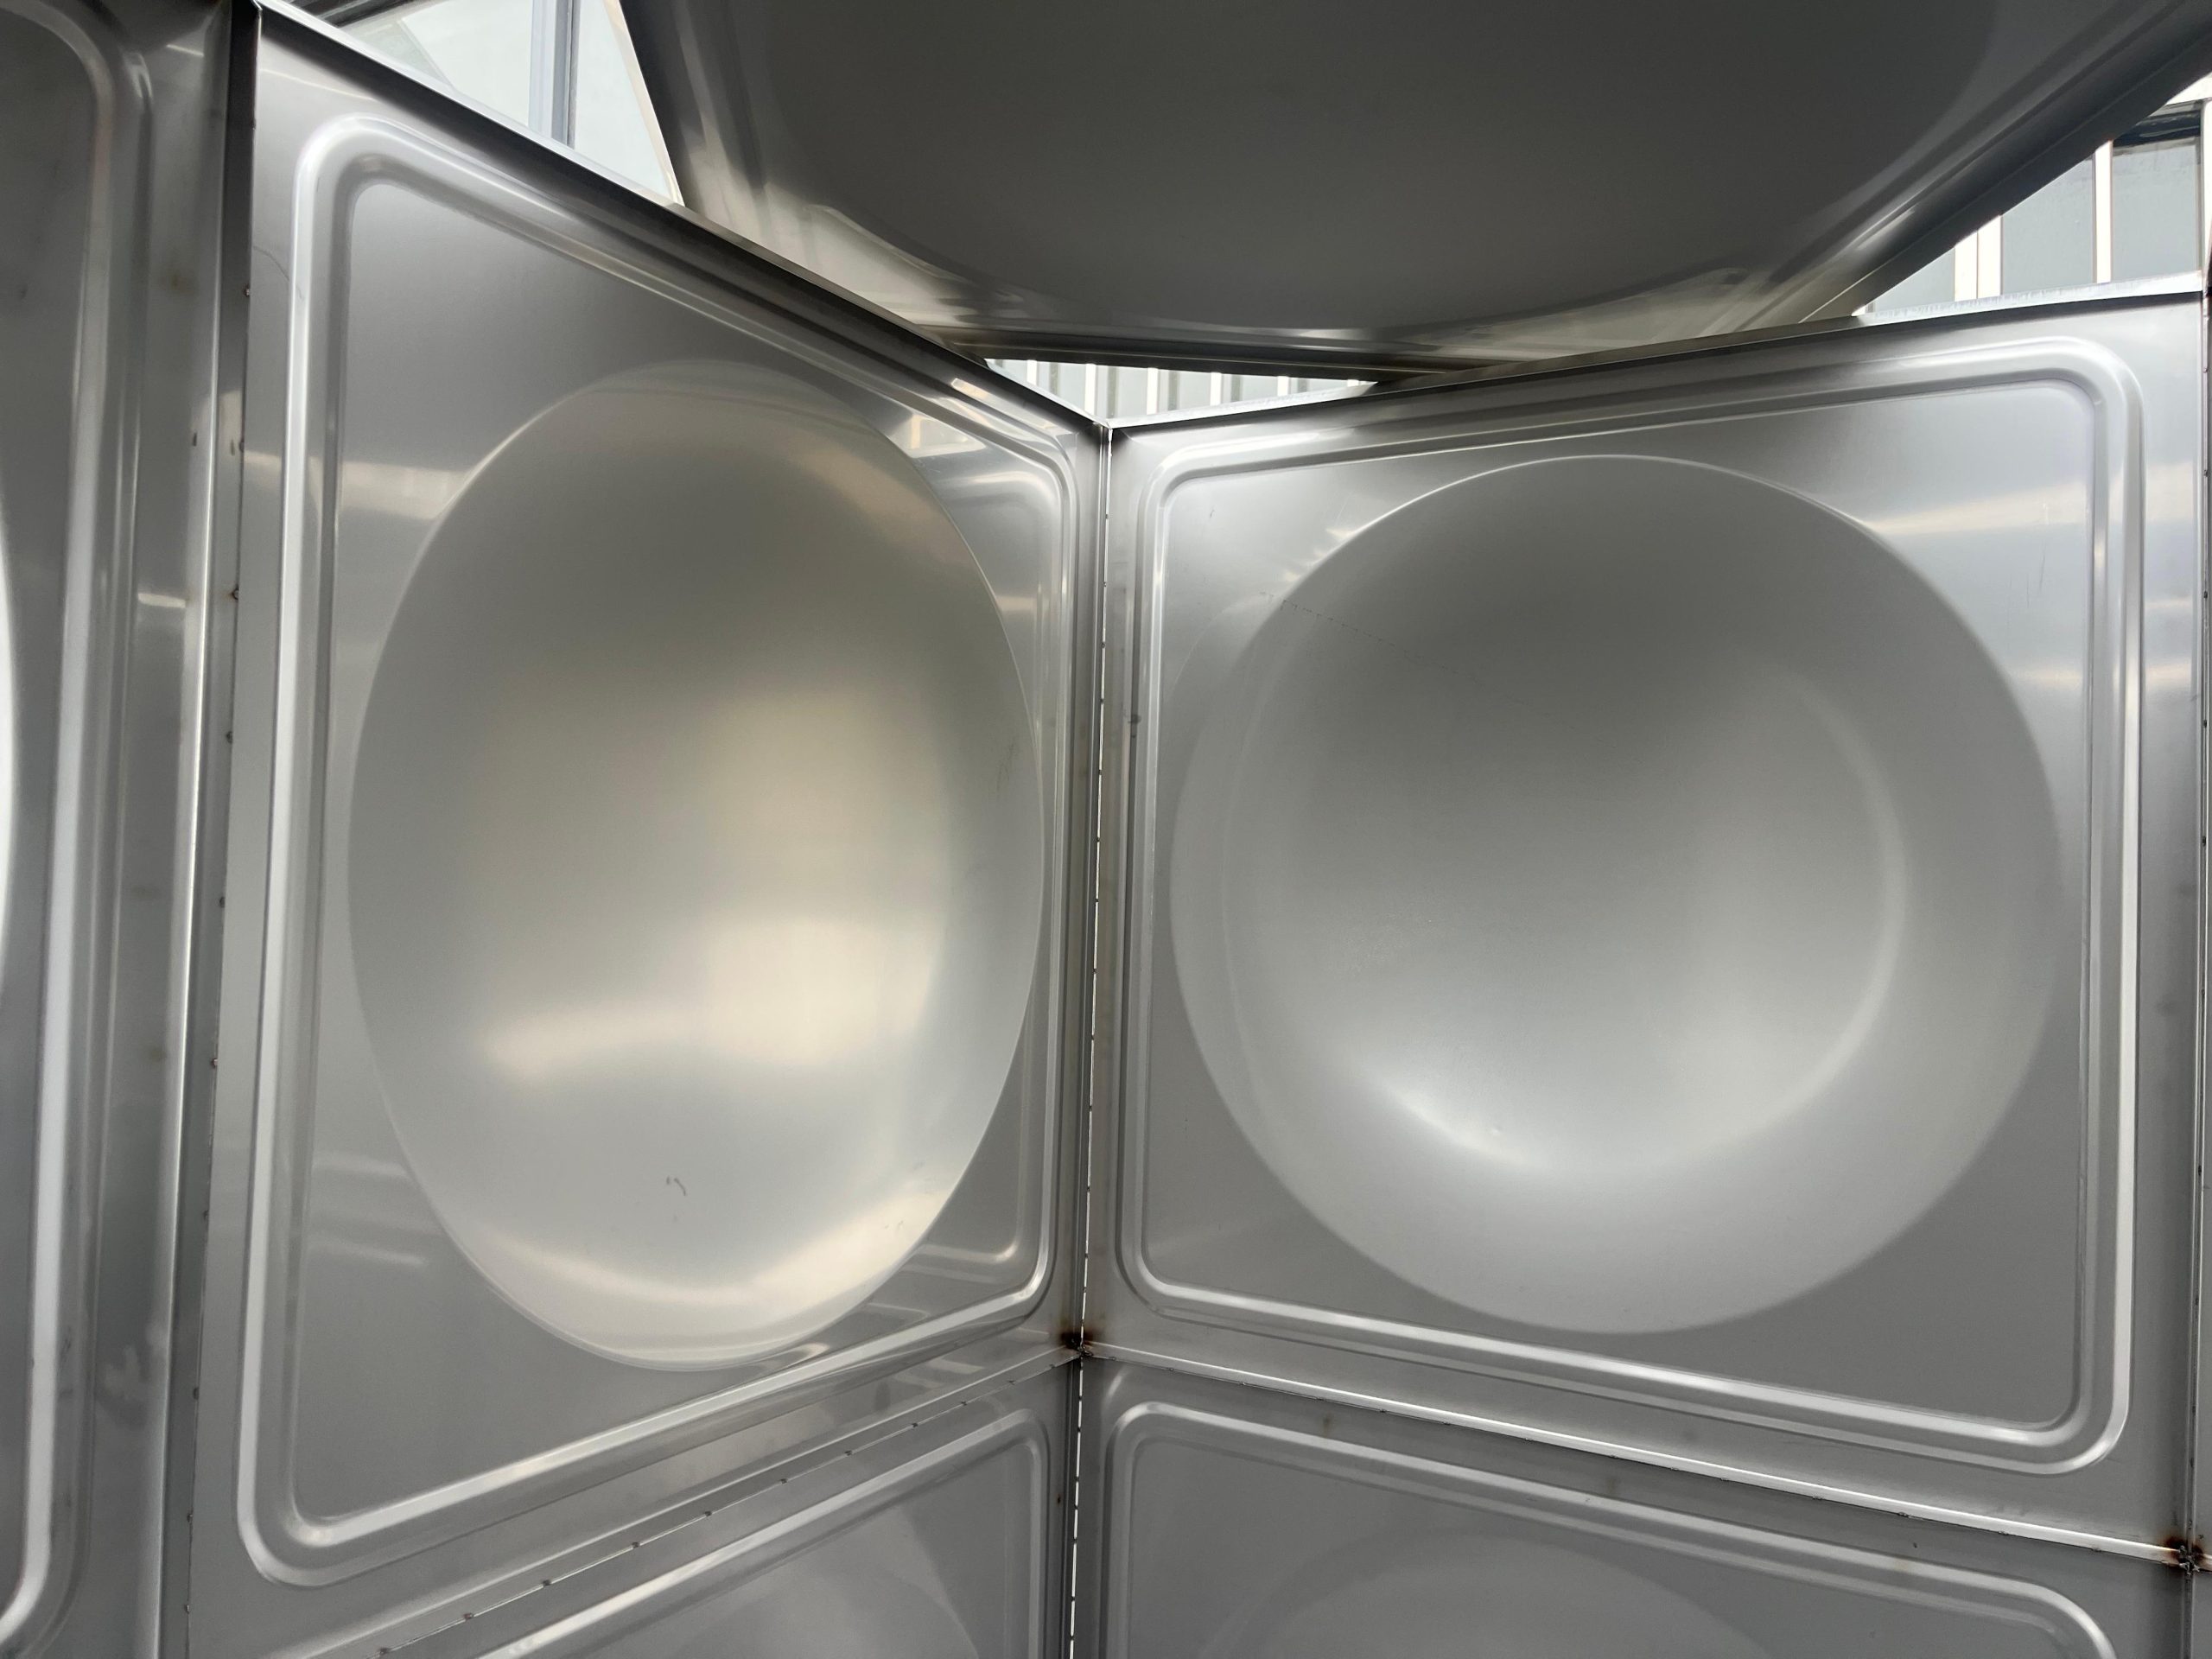
Square stainless steel water tanks can be assembled using either bolted or welded construction. This video provides a detailed installation guide for welded stainless steel water tanks, covering key procedures such as foundation preparation, channel steel welding, bottom panel welding, side panel welding, internal tie-rod welding, full internal welding, and the installation of flanges and other accessories.

The installation process is designed to ensure the water tank has reliable sealing performance, structural strength, and long-term durability during actual operation.
Video Coming Soon…

Hot-Dip Galvanized Water Tank Installation Video

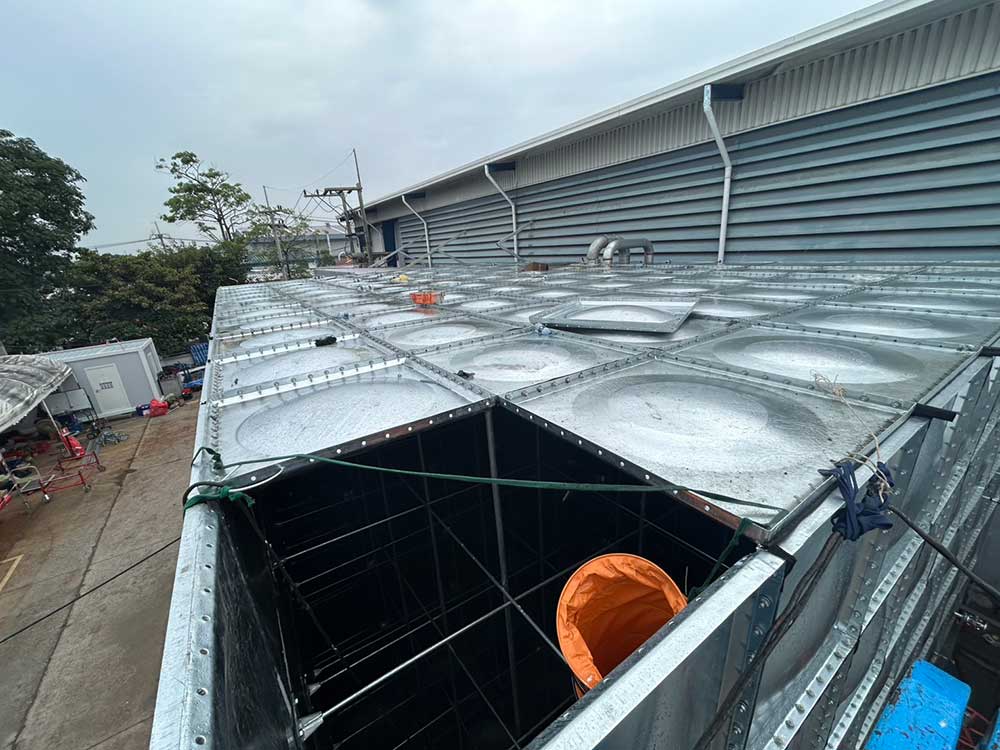
Assembled modular hot-dip galvanized water tanks are made from pressed Q235 steel panels and connected with bolts. Unlike welded water tanks, they have different requirements for panel assembly, internal tie rods, and sealing methods.

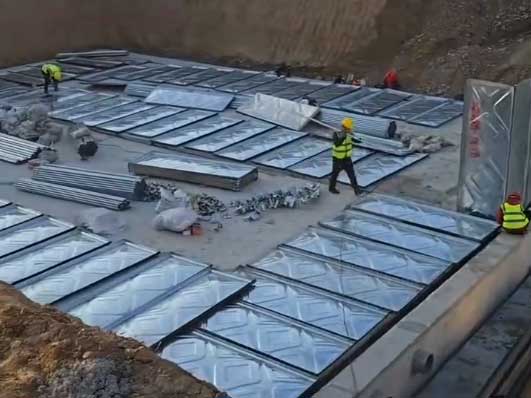
Sealing strips and rubber leak-proofing are the primary measures used to prevent leakage in bolted water tanks. This video demonstrates the key points to pay attention to during each stage of installation, including foundation preparation, bottom panel installation, side panel bolting, and internal tie-rod installation.

It is suitable for project installation teams, engineers, and contractors as a practical reference to help ensure that the installation complies with applicable local standards.

GRP Water Tank Installation Video

FRP water tanks commonly use a bolted assembly method, and their basic installation process is similar to that of other sectional bolted water tanks.

Depending on the tank dimensions and application, stainless steel bolted tanks, hot-dip galvanized water tanks, and FRP water tanks use different accessories. The main differences are in the internal tie rods and support structures.
This video provides a practical installation reference for engineers, contractors, and installation workers, helping them better understand the assembly process and key installation requirements.
Video Coming Soon…

FAQ

Yes. For end users, we provide complete on-site installation services to ensure the water tank is properly installed and ready for use.

For B2B customers such as contractors, engineers, and project companies, we provide on-site installation guidance and detailed installation videos to assist with the installation process.

We can help coordinate professional installation workers for your project. Additional fees apply for worker dispatch and installation services.

The installation service fee is USD 200 per person per day, with the customer responsible for the workers’ accommodation, meals, airfare, and visa expenses.

The required workforce and installation time depend on the tank capacity and site conditions. The following table provides a general estimate::

Tank Capacity (kL/m³)WorkersEstimated Installation Time
3–5022 days
50–10023 days
100–20043–4 days
200–30046 days
300–500410 days
500–800412 days
800–1,000415 days

The actual installation time may vary depending on tank size, installation method, site conditions, equipment availability, and local working conditions.

We provide a complete range of water tank components and accessories, including:

  • Tank panels
  • Internal tie rods and bracing
  • Channel steel
  • Ladders
  • Sealing strips
  • Leak-proofing materials
  • Bolts and nuts
  • Level indicators
  • Flanges
  • Manholes
  • Silicone sealant
  • Other installation accessories

Before installation, the following preparations should be completed:
  1. Tank Foundation
    Prepare a suitable foundation, such as concrete strip foundations or a reinforced/hardened concrete base.
  2. Lifting and Handling Equipment
    Prepare a forklift, crane, excavator, or other lifting and handling equipment according to the tank size and site conditions.
  3. Local Installation Workers
    Arrange local workers to assist with the installation or learn the installation process under the guidance of our professional technicians.
  4. Installation Tools and Safety Equipment
    Prepare TIG welding equipment where required, along with appropriate personal protective equipment (PPE), such as gloves, safety helmets, reflective vests, and other necessary safety gear.

Service Cases

Customized project cases from various industries are available for reference, along with professional advice tailored to your needs.

Looking for
A Reliable Water Tank Solution?

Factory-direct water tank manufacturer providing custom design, fast quotation, and reliable quality. Suitable for industrial, commercial, and engineering projects.